Hello dear readers,
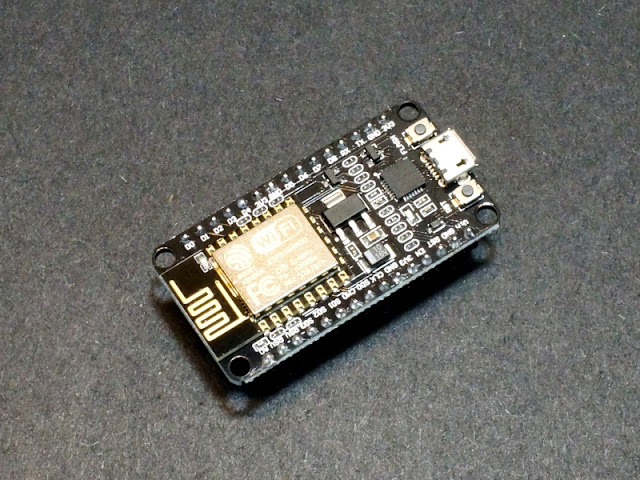
I am giving you code for HTTP Server and Client for both Wemos D1 Mini and NodeMCU. You can use this code in your Arduino IDE.
You can make one device HTTP Server and the other HTTP Client and both will communicate with each other.
You can also use it to call a web API if you have internet access.
I have tested it on Wemos D1 Mini, and I am pretty sure that it will work just fine in NodeMCU also.
HTTP Server
This code will create a hotspot and a HTTP web server. It will print out its IP Address after creating the hotspot(or Access Point).
Note this IP Address and pass it to HTTP Client to connect to this device(Server).
This code will create a hotspot and a HTTP web server. It will print out its IP Address after creating the hotspot(or Access Point).
Note this IP Address and pass it to HTTP Client to connect to this device(Server).
1 2 3 4 5 6 7 8 9 10 11 12 13 14 15 16 17 18 19 20 21 22 23 24 25 26 27 28 29 30 31 32 33 34 35 36 37 38 39 40 41 42 43 44 45 46 47 48 49 50 51 | #include <ESP8266WiFi.h> #include <ESP8266WebServer.h> // Replace with your network credentials const char* ssid = "my_server"; const char* password = "abhi@123"; ESP8266WebServer server(80); //instantiate server at port 80 (http port) void handleBody(){ if (server.hasArg("data")== false){ //Check if body received String message = "Body not received"; server.send(200, "text/plain", message); Serial.println(message); //return; }else{ String message = "Body received:\n"; message += server.arg("data"); message += "\n"; server.send(200, "text/plain", message); Serial.println(message); } } void handleRoot(){ String message = "Welcome at root"; server.send(200, "text/plain", message); Serial.println(message); } void setup(void){ delay(1000); Serial.begin(115200); WiFi.softAP(ssid, password); //begin WiFi access point Serial.println(""); Serial.print("IP address: "); Serial.println(WiFi.softAPIP()); server.on("/body", handleBody); server.on("/", handleRoot); server.begin(); Serial.println("Web server started!"); } void loop(void){ server.handleClient(); } |
HTTP Client
Pass HTTP Server IP Adress in the below code to communicate with it.
Please read comments to see where to edit.
Pass HTTP Server IP Adress in the below code to communicate with it.
Please read comments to see where to edit.
1 2 3 4 5 6 7 8 9 10 11 12 13 14 15 16 17 18 19 20 21 22 23 24 25 26 27 28 29 30 31 32 33 34 35 36 37 38 39 40 41 42 43 44 | #include <ESP8266WiFi.h> #include <ESP8266HTTPClient.h> const char* ssid = "my_server"; const char* password = "abhi@123"; const char* host = "192.168.4.1"; //Server IP Address here void setup() { Serial.begin(115200); delay(100); // We start by connecting to a WiFi network Serial.println(); Serial.println(); Serial.print("Connecting to "); Serial.println(ssid); WiFi.mode(WIFI_STA); WiFi.begin(ssid, password); while (WiFi.status() != WL_CONNECTED) { delay(500); Serial.print("."); } Serial.println(""); Serial.println("WiFi connected"); Serial.println("IP address: "); Serial.println(WiFi.localIP()); } void loop() { if (WiFi.status() == WL_CONNECTED) { //Check WiFi connection status HTTPClient Post; Post.begin("http://192.168.4.1/body"); // pass Server IP Address here Post.addHeader("Content-Type", "application/x-www-form-urlencoded"); Post.POST("data=hellothere"); delay(100); String payload = Post.getString(); Serial.println(payload); Post.end(); } delay(5000); } |
You are free to leave comments in case of any doubts.
Thanks for Reading! Happy coding :)

This post is so useful and valuable to increase our knowledge home security systems toledo I am happy that you have shared great info with us. Grateful to you for sharing an video like this.
ReplyDelete